National Geographic 50 Greatest Photographs
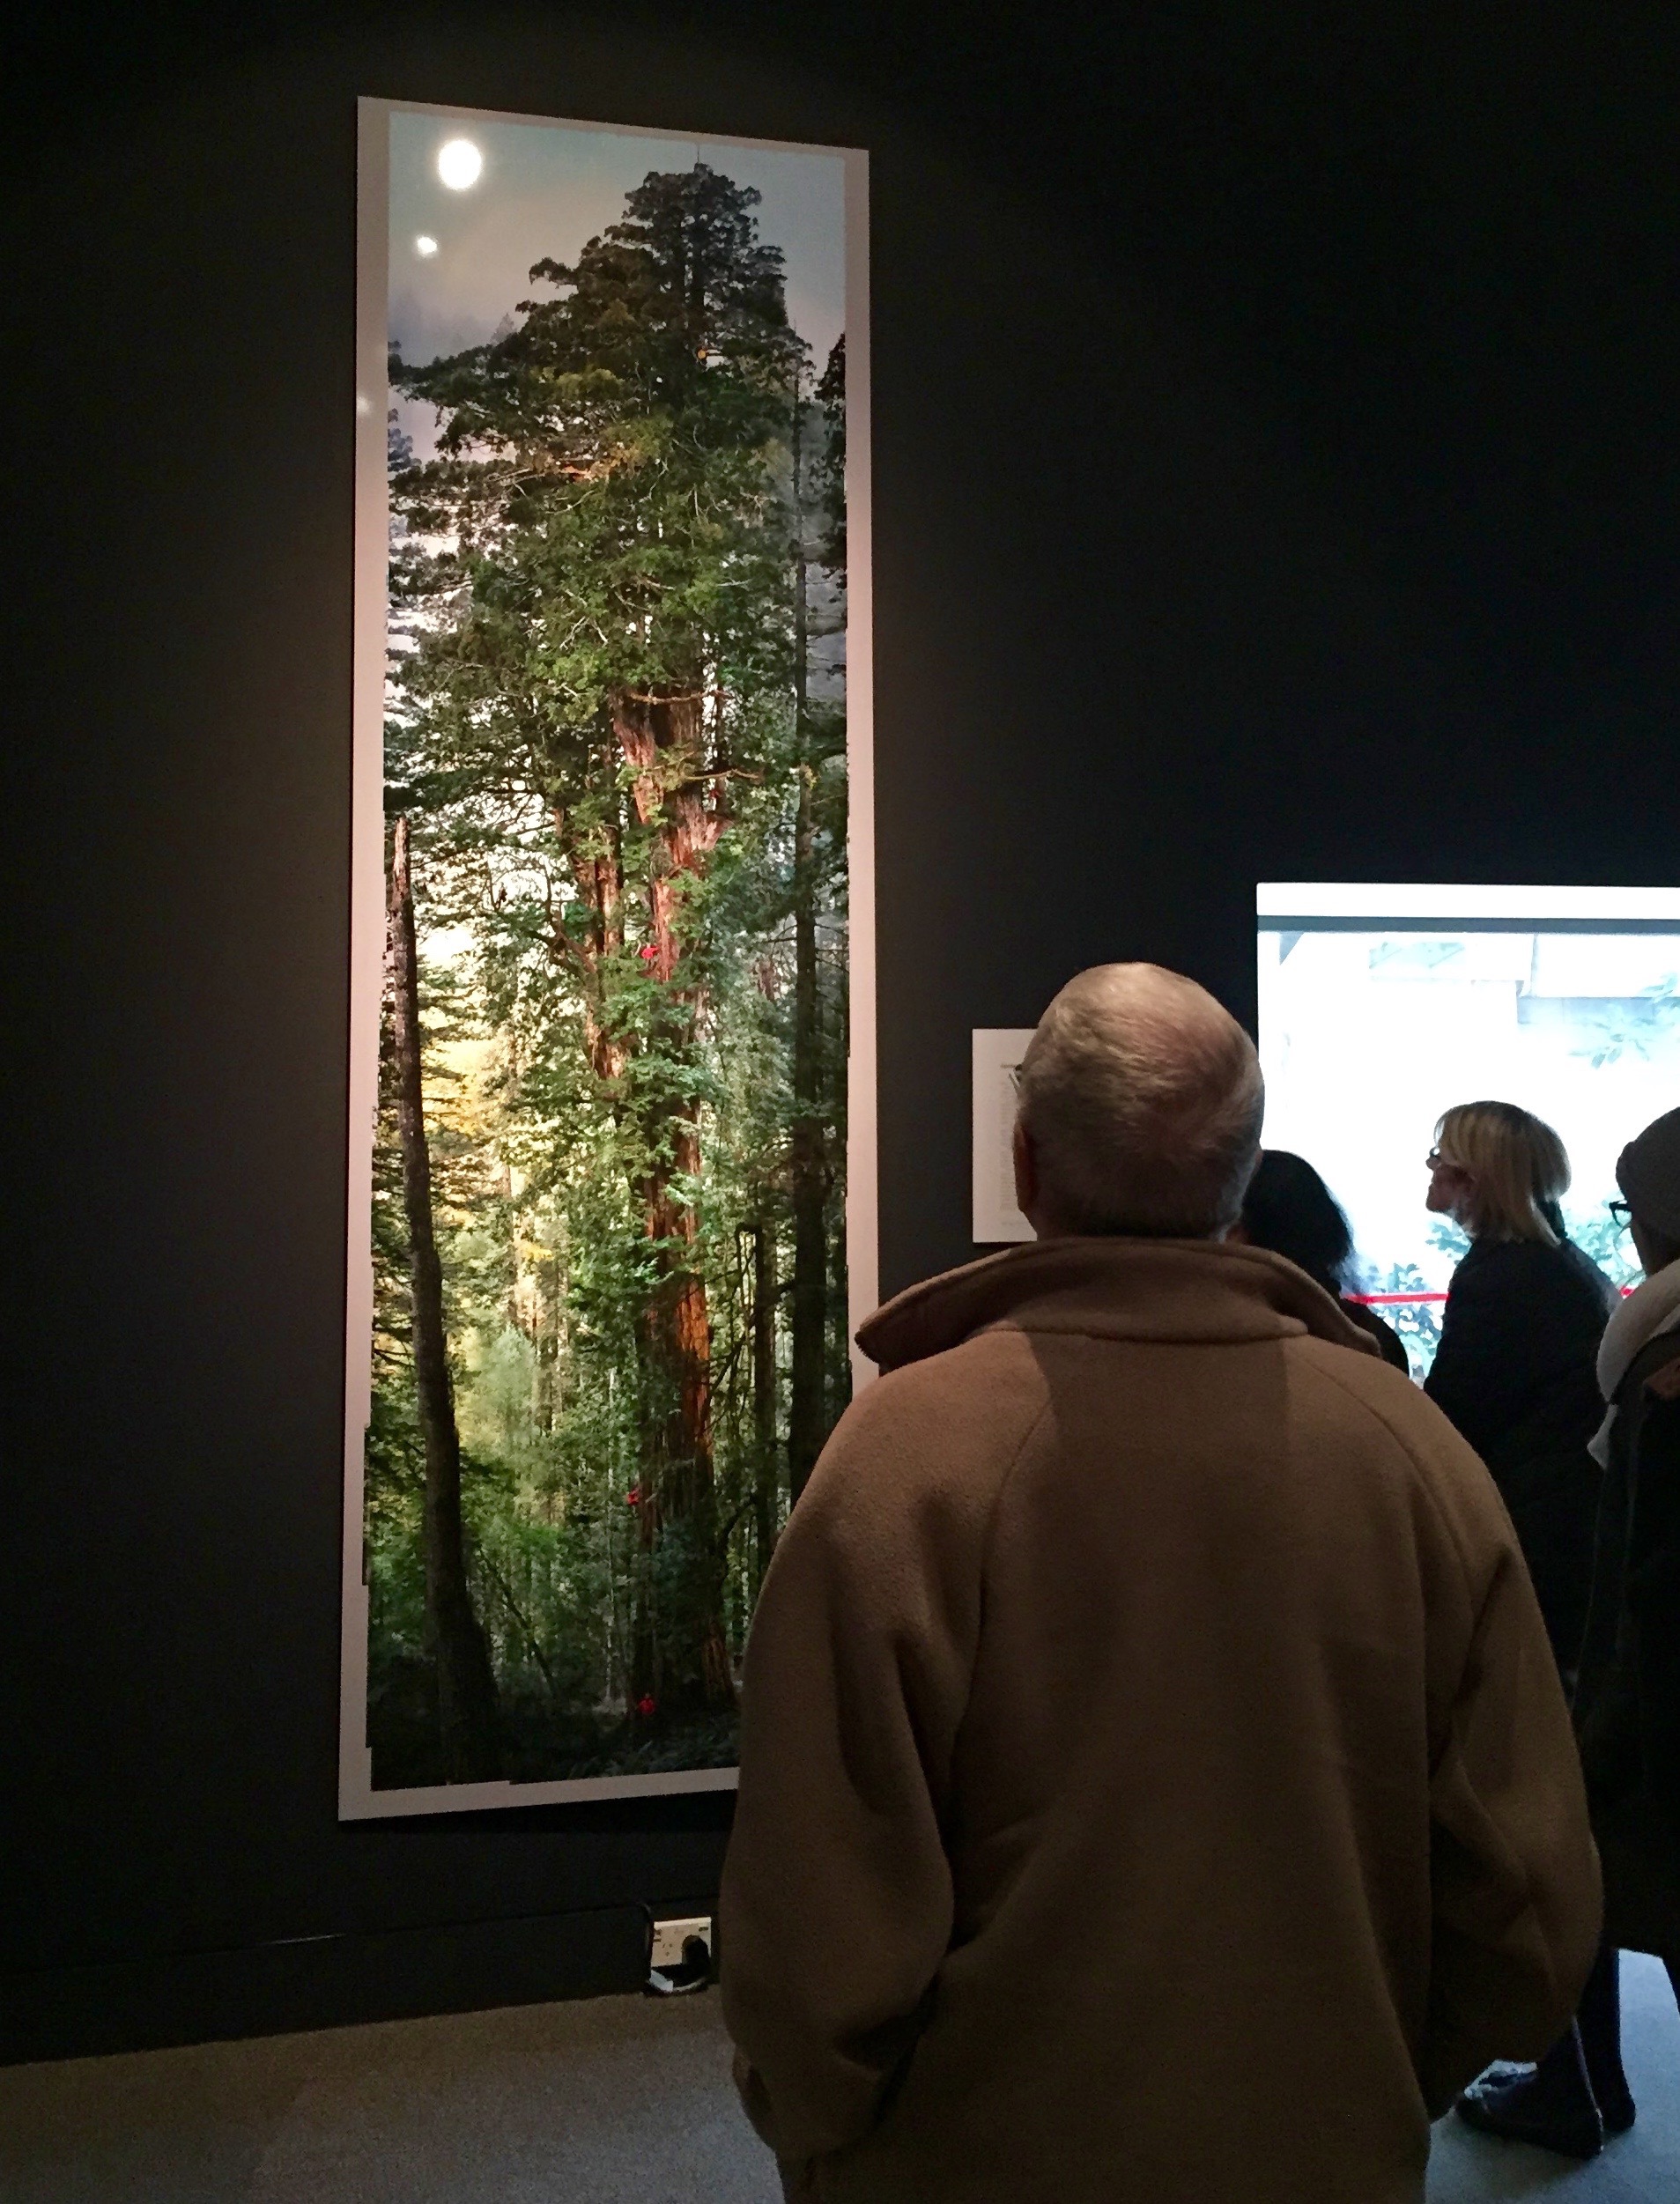
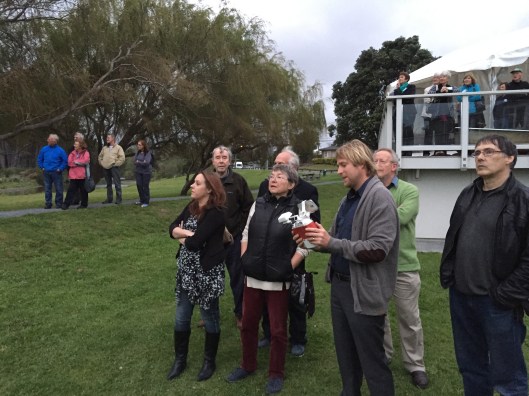
Around 15 people from the KCPS Meetup Group got together to view this Exhibition at Expressions Gallery in Upper Hutt last Saturday morning. Most stayed for a tea or coffee and chat afterwards. The Exhibition is highly recommended – it was great to be able to see all the images as prints – particularly this very large tree photo by Michael Nicholls.

I was personally also very taken with this photo by Sam Abell. It’s a brilliant example of composition, with many layers – maybe as many as nine. From the back there is the sky, the prairie, some cattle on the right, a single cowboy, two more cowboys grabbing another calf, the guy with the bucket for the Rocky Mountain Oysters, the cowboy with bloody scalpel in this mouth, the calf, and then the young guy on the left helping.

Montana cowboys brand and castrate their livestock. (c) Sam Abell.
Whether or not you make it to the Exhibition (which closes on 26 July) I recommend getting this iPad app (NZ$6.49) which allows you to view all the images, read the back stories, watch some videos, and see other photos taken around the same time.
Thanks again to Rachel Stevens for all she does to organise such outings.
DEVELOPMENT GROUP – ADVANCED SESSION
There are around ten of us at the session last night, where amongst other things I discussed the Sam Abell image above. I also talked about some of the key principles which are common for time-lapse photography and my “Painted Skies” images. These are:
- Set everything manual (ISO, White Balance, Aperture, Shutter, Focus)
- Turn off image stabilisation
- Use either RAW OR JPG depending …..
- Solid tripod
- Intervalometer
- ND filter? (can be useful for motion blur)
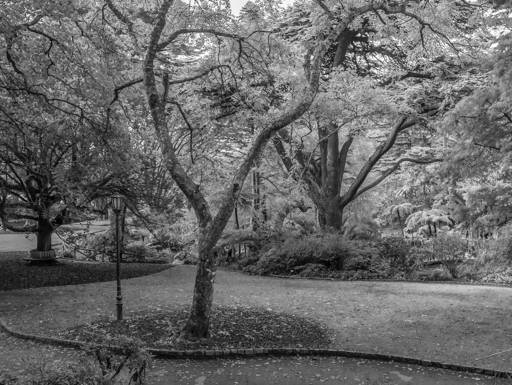
FIXING HALOES
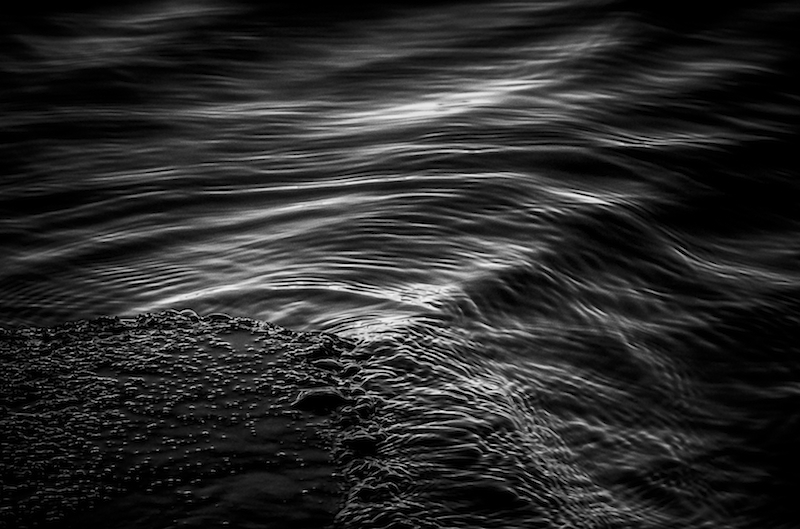
At the end of the evening I shared a very useful Photoshop technique I’ve recently worked out for getting rid of haloes in images. They can occur at sharp edges with large changes in brightness, such as where the land meets the sky. I’m sure I’m not the first to do this, but I don’t think the technique is widely known.
What you do is open the image up in Photoshop, then create a new layer, and set its blending mode to darken. Then, working on that layer, use the clone stamp tool with a small brush, and set the origin of the clone stamp (Alt-Click in Windows, or Option-Click on a Mac ) to some of the lighter area just near the halo edge. Brush along the light halo and it will be replaced by darker sky from above and near it (the clone stamp origin will move along with the brush), while not affecting the land because that is already darker than the sky. You can do this without using another layer, and just set the blending mode of the clone stamp brush to darken, but I prefer to have a separate layer.
Below is an example for a portion of an image of mine, where the halo has been fixed in the central part, while it is still clearly visible to the left and right.